How To Make Authentic Tortillas at Home
Share
Did you know that tortilla is the signature bread of Mexico? The tortilla has been around for some time. Mayan legends say that the bread was created by a peasant to feed his hungry king.
The first tortilla was made of corn with dried kernels. Then, the people discovered that the bread could be used as an eating utensil, and tortillas were used to scoop food. Over time people began packing them with food and they became the traditional staple that we know and love today.
Today, the main ingredient in a tortilla can be corn flour, wheat flour, or all-purpose flour.
Americans consume an estimate of 85 billion tortillas in one year. It's no wonder everyone wants to know how to make an authentic version while at home. If you're looking for a recipe that's simple, authentic, and easy to do, we got you covered.
Making authentic tortillas
A tortilla can only be authentic if genuine ingredients are used, and a generation-old process is followed.
Traditional tortillas have only four ingredients: flour, salt, shortening, and warm water, which are mixed to form a dough. Originally people used their hands to press the dough, but towards the end of the 19th century, Mexicans invented a tortilla pressing utensil.
The invention made the tortilla pressing easy, fast, and fun. Tortilla presses are typically made of either wood, cast aluminum, or cast iron. The option of course of using a rolling pin to flatten the dough is there. But if you have a lot of tortillas to prepare a press can make life much easier.
To see an example of a tortilla press here is a good site for cast iron tortilla press.
Ingredients:
- 4 cups all-purpose flour
- 2 teaspoon baking soda
- 1 teaspoon salt
- 2 tablespoons lard or shortening
- 1 1/2 cup warm water
Instructions:
- Pour salt, baking soda, and flour in a bowl and mix using a whisk
- Add lard to the mixture of dry ingredients and mash using your hand
- Add warm water, mash until it forms a dough
- Sprinkle flour on a clean, flat surface and knead the dough for few minutes until it becomes elastic
- Cut up the dough into 24 uniform sizes
- Roll each cut up dough into a ball
- Place a wax paper on the bottom surface of a cast iron tortilla press
- Put one piece of rolled dough on the wax paper
- Cover it with another wax paper
- Press the dough by pulling down the lever of the cast iron tortilla press
- Do the same procedure to all dough balls
- Preheat a skillet pan to medium-high
- Once the pan is hot enough, place one piece of thin tortilla
- Heat for 30 seconds and flip to cook the other side until you get that toasty smell
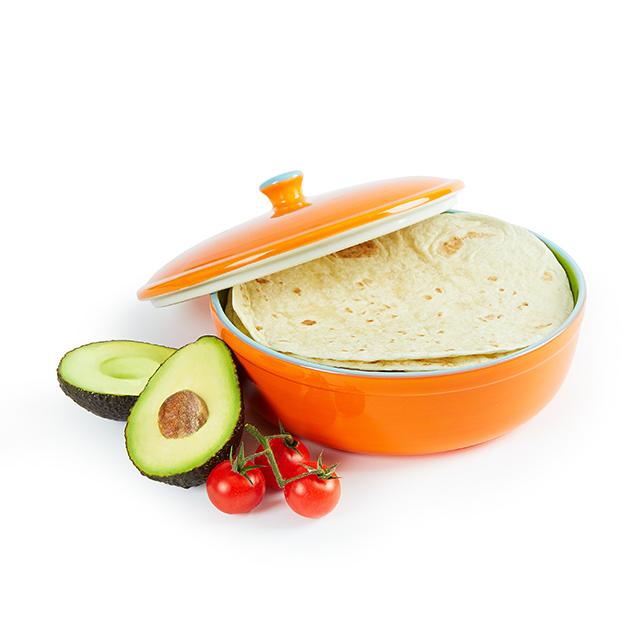
- Place a cooked flour tortilla in a tortilla warmer
- If there is no tortilla warmer, cover with a towel to maintain the warm temperature
Health facts for flour tortillas
Each serving of flour tortilla, your body will get the following nutritional benefits:
- 85.7 Calories
- 2.2g 4% Protein
- 16g 5% DV Carbohydrates
- 1.3g 2% DV Fat
- 1-milligram Cholesterol
- 138.4mg 6% DV Sodium
Keep your flour tortillas soft
Homemade flour tortillas last longer compared to store-bought tortillas. If prepared, cooked, and stored the right way, it will stay soft the entire 24 hours. There are several factors why tortillas get hard.
- Used other types of flour instead of all-purpose flour
- Used other make of pan instead of cast iron pan
- Pan is not hot enough
- The tortilla is not thin enough
- Tortillas are not stored the right way
It is imperative that the preparation, cooking, and storing processes are followed correctly. To keep flour tortillas soft, store them in a zip lock while they are still warm. Remove the air and seal it. Each time you need to get some pieces, make sure to remove the air inside the bag before closing it. Refrigerating it can keep the freshness up to 10 days.
Need something to compliment those tasty tortillas? Try some Walker Feed Margarita Mix or EVO Salsa.
Happy eating!
